V7/x86 on VirtualBox
One of the easiest ways to try out V7/x86 is to run it as a virtual machine. This saves all the trouble of dealing with actual hardware, and you can be up-and-running almost immediately.
Oracle VM VirtualBox is a popular cross-platform virtualization application, available at no charge. This quick step-by-step guide covers running V7/x86 on VirtualBox using the downloadable V7/x86 virtual machine package.
Step 1
The first step is to get VirtualBox installed on your system, if you have not already done so. The software is available from the VirtualBox website. For Linux, Windows, or a Mac, there is probably a quick and automated way to get VirtualBox set up and runing.
Step 2
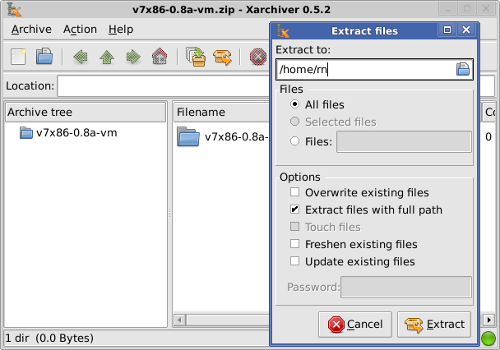
Download the V7/x86 virtual machine package from the V7/x86 website. This is supplied as a zip archive, and contains a virtual hard disk image along with various configuration files and some documentation.
Extract the contents of the archive to a suitable directory.
Step 3
You should now have a directory containing the following extracted files.

Take a moment to look at the documentation at this point, or note that it exists for future reference. The file v7x86intro.pdf contains general information about running V7/x86, some of which is repeated here also.
Step 4
Run VirtualBox, and start up the Virtual Media Manager from the File menu. Choose to Add a Hard Disk, and select v7x86.vmdk as the file to open.
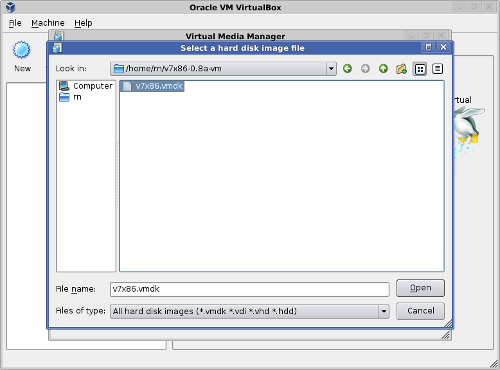
Once you have confirmed your choice, you should end up back at the main VirtualBox window.
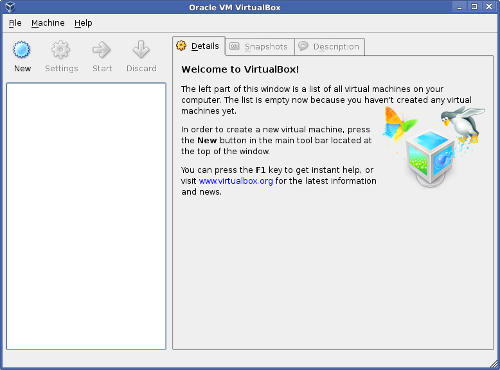
Step 5
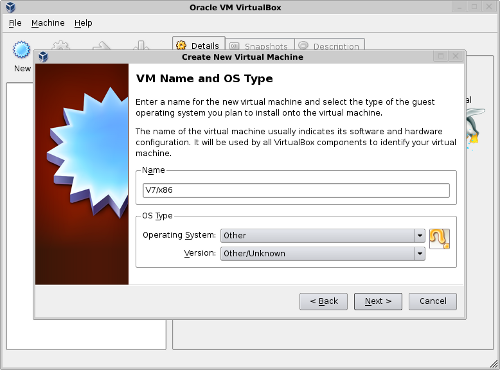
Now click on New to start the New Virtual Machine Wizard.
When prompted for the VM Name, enter V7/x86. For Operating System select Other, and for Version select Other/Unknown.
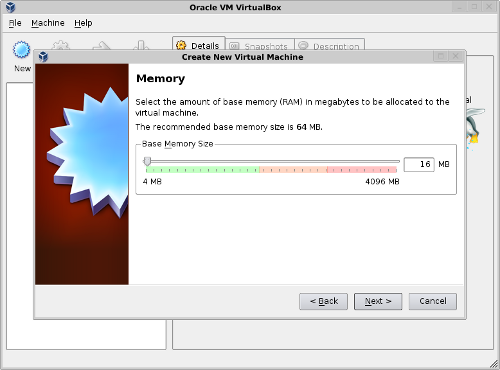
Step 6
In the Memory window, choose to allocate 16 megabytes of base memory.
Step 7
For a Virtual Hard Disk, choose to use an existing hard disk, and select the v7x86.vmdk disk image.
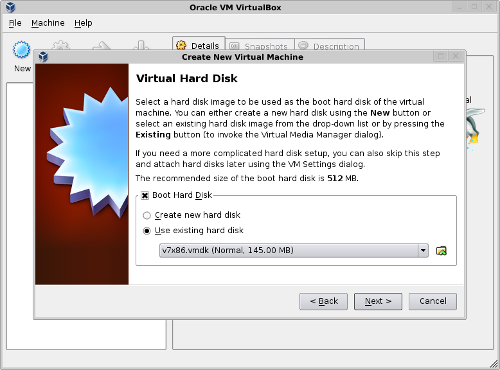
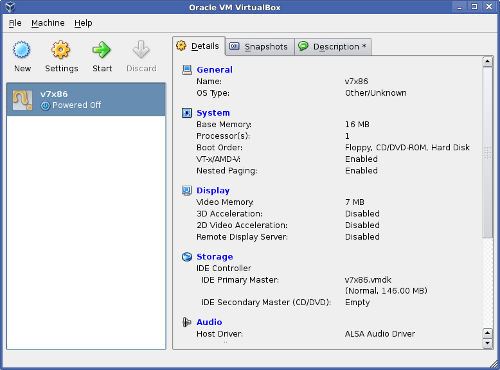
Once you have confirmed your choices, you should have VirtualBox set up to run V7/x86.
Starting up the Machine
To begin, choose V7/x86 from the list of available machines and click Start.
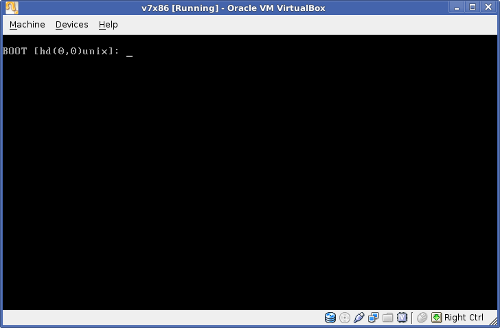
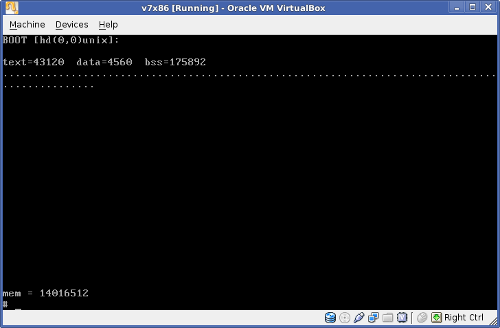
Booting V7/x86
When V7/x86 starts up, the first thing you will encounter is the BOOT prompt. Getting input at this point makes it possible to load, or boot, various UNIX kernels from various devices.
Press Enter to accept the defaults.
In Single-User Mode
V7/x86 starts up in single-user mode. which is the place to carry out needed administrative tasks, such as checking and repairing file systems with /etc/fsck.
To proceed to multi-user mode, press ^D (that is Ctrl+D).
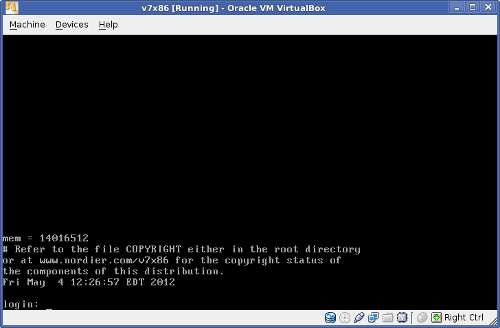
In Multi-User Mode
At the UNIX login prompt, you can log in as guest (be sure to use lowercase). By default, guest has no password.
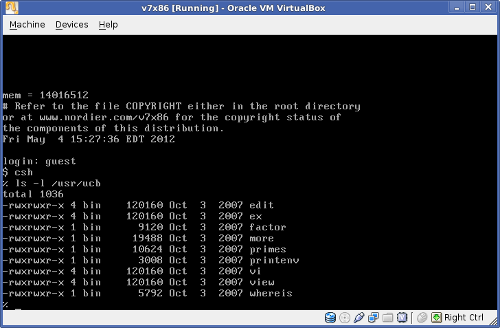
Logged In
Once logged in, take some time to explore.
Besides the usual UNIX V7 commands in places like /bin and /etc, some early BSD programs are included, generally in /usr/ucb. A few other contributed programs are in /usr/bin.
Pressing ^D (that is Ctrl+D) will log you out again.
Shutting Down
With classic UNIX, it is always a good idea to shut down the system properly when you have finished using it.
To shut down V7/x86, enter su to become root. You will be prompted for a password. (The default root password is password.) Now enter the command kill -1 1 (that is "kill minus one one"), and then throw in a couple of sync commands for good measure.

You can now Close or Reset the virtual machine from the VirtualBox menu.